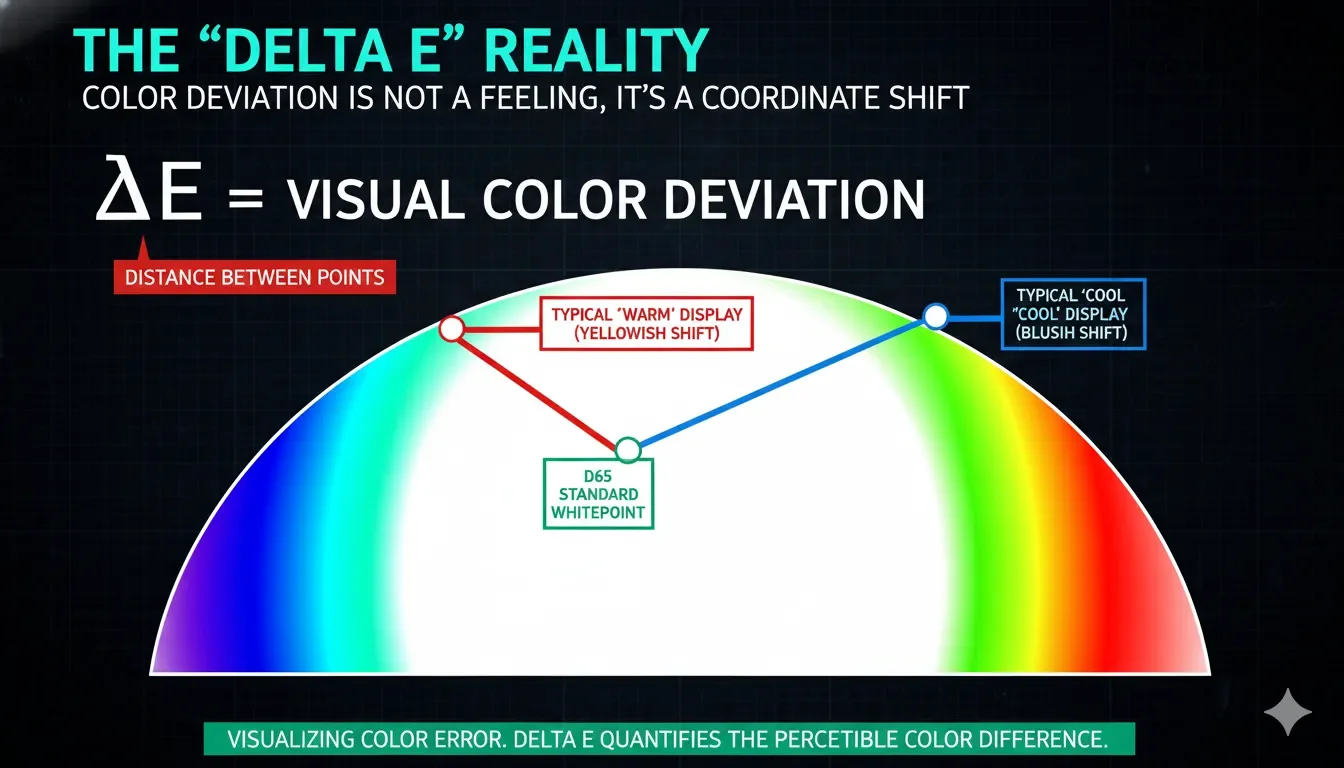
A monitor color tint can come from room lighting, color mode, white point, GPU settings, ICC profiles, or the panel itself. Do not start by dragging every RGB slider. First decide whether the tint is global, channel-specific, or caused by the viewing environment.
Use the White Screen Test and red, green, and blue screens to check whether the tint affects the whole display or only certain colors.
Rule Out Room Light and Display Modes
Warm bulbs, sunlight, True Tone-style features, night modes, and automatic brightness can make a screen look yellow or inconsistent. Turn off night light, blue-light filters, dynamic color modes, and automatic brightness while testing.
For phones and tablets, strong ambient light can also wash out contrast and shift perceived color. That does not always mean the panel is inaccurate; sometimes the environment is dominating what your eyes see.
Use the Monitor's Native Color Controls First
Open the monitor's on-screen display and look for color temperature, sRGB mode, user color, or RGB gain controls. If the screen is too warm, reduce red slightly or choose a cooler white point. If it is greenish, check whether a vivid or game mode is pushing saturation.
Make small changes and retest on white and grey screens. Large manual changes can fix one color while making gradients or skin tones worse.
Understand Wide Gamut vs Accurate Color
A wide-gamut monitor can display more saturated colors, but that does not mean every app will look more accurate. Web content is usually designed around sRGB. If a wide-gamut display lacks proper color management or an sRGB clamp, reds and greens can look too intense. In other cases, a monitor advertised with wide gamut may still have a weak factory mode.
For web design and normal browsing, try the monitor's sRGB mode if available. For photo or video work, use the color space that matches your project and software.
Windows Calibration and ICC Profiles

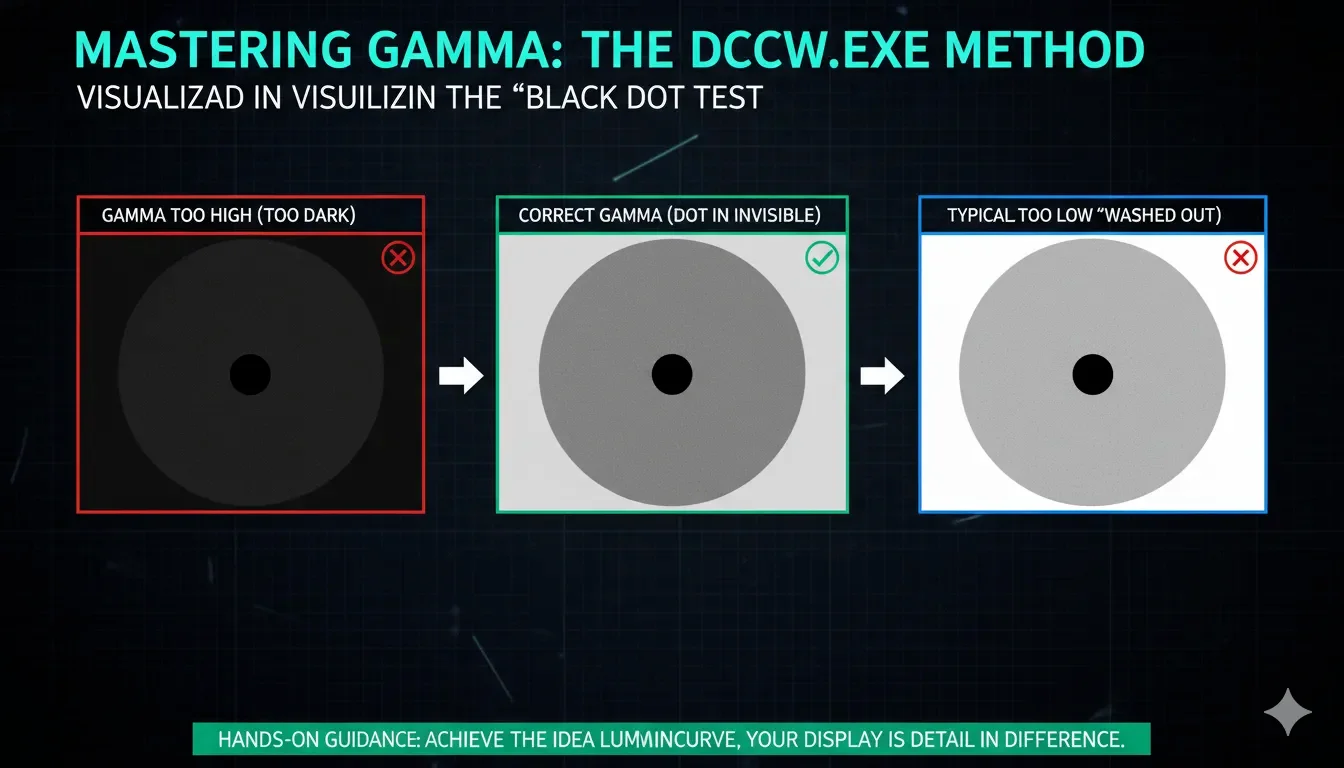
Windows includes a basic calibration tool at dccw.exe. It can help with gamma and rough white balance, but it is visual calibration, not measurement. ICC profiles can improve color-managed apps, but they do not magically fix every non-managed browser, game, or video player.
If color accuracy matters professionally, a hardware colorimeter is the better path. If you only need the monitor to look less yellow next to another screen, careful manual adjustment may be enough.
Conclusion
Fixing monitor color tint starts with removing environmental and mode-based causes. Then adjust white point carefully, use sRGB or the correct color space when needed, and treat Windows calibration as a helpful basic tool rather than a substitute for hardware measurement.
FAQ
Why does my monitor look yellow?
Common causes include warm color temperature, night light, room lighting, aging backlight behavior, or a mismatched color profile.
Should I use sRGB mode?
Use sRGB mode for normal web and UI work if colors look oversaturated in wide-gamut modes. Use another mode only when your workflow requires it.
Is Windows calibration enough for design work?
It can improve obvious tint, but professional color work usually needs a hardware colorimeter and a controlled lighting setup.
Related Tests and Guides
Check Your White Point
Start with a clean white screen before changing color sliders.
Open White Screen Test