A backlight bleed test is useful only if the room, brightness, and camera settings are controlled. A long-exposure phone photo in a dark room can make almost any LCD look worse than it does to your eyes.
Open the Backlight Bleed Test and use a plain black screen as the signal. Then judge the panel with your eyes first and the camera second.
Set Up the Room Before Judging the Panel
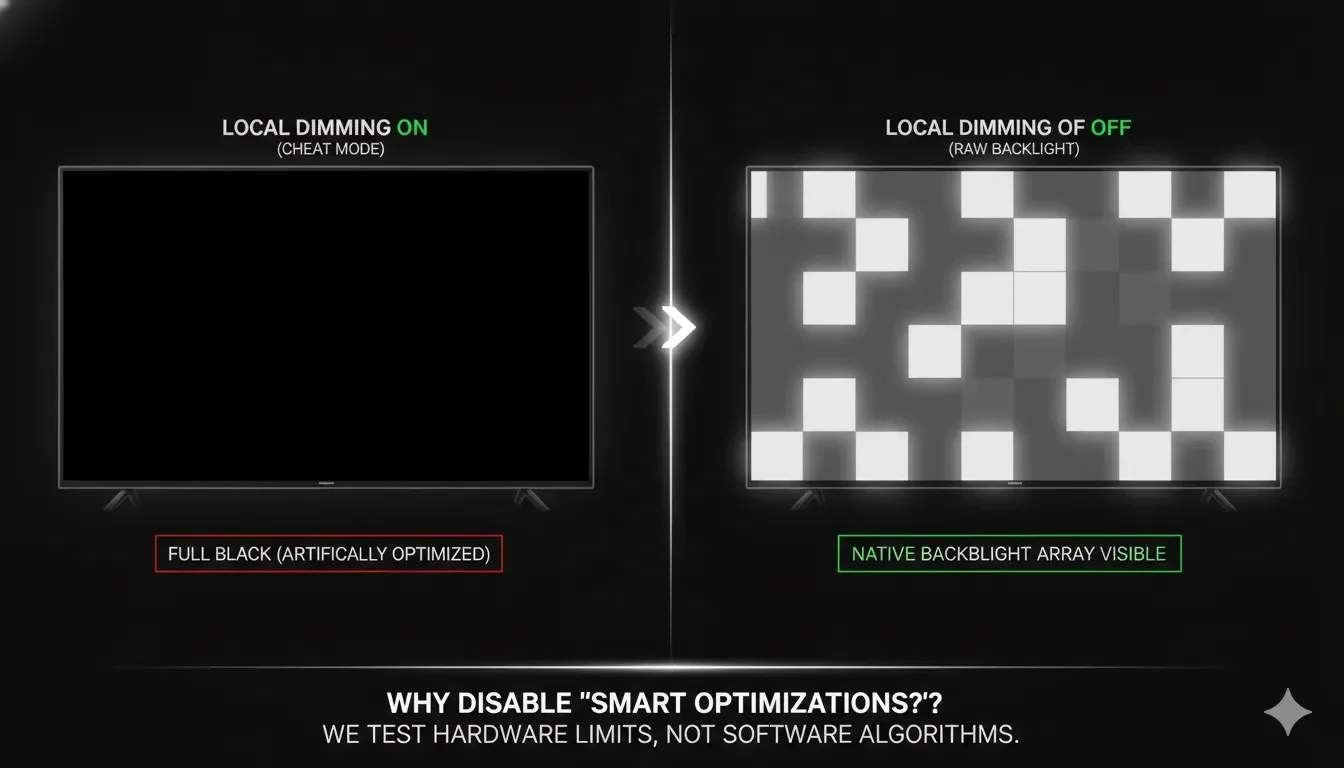
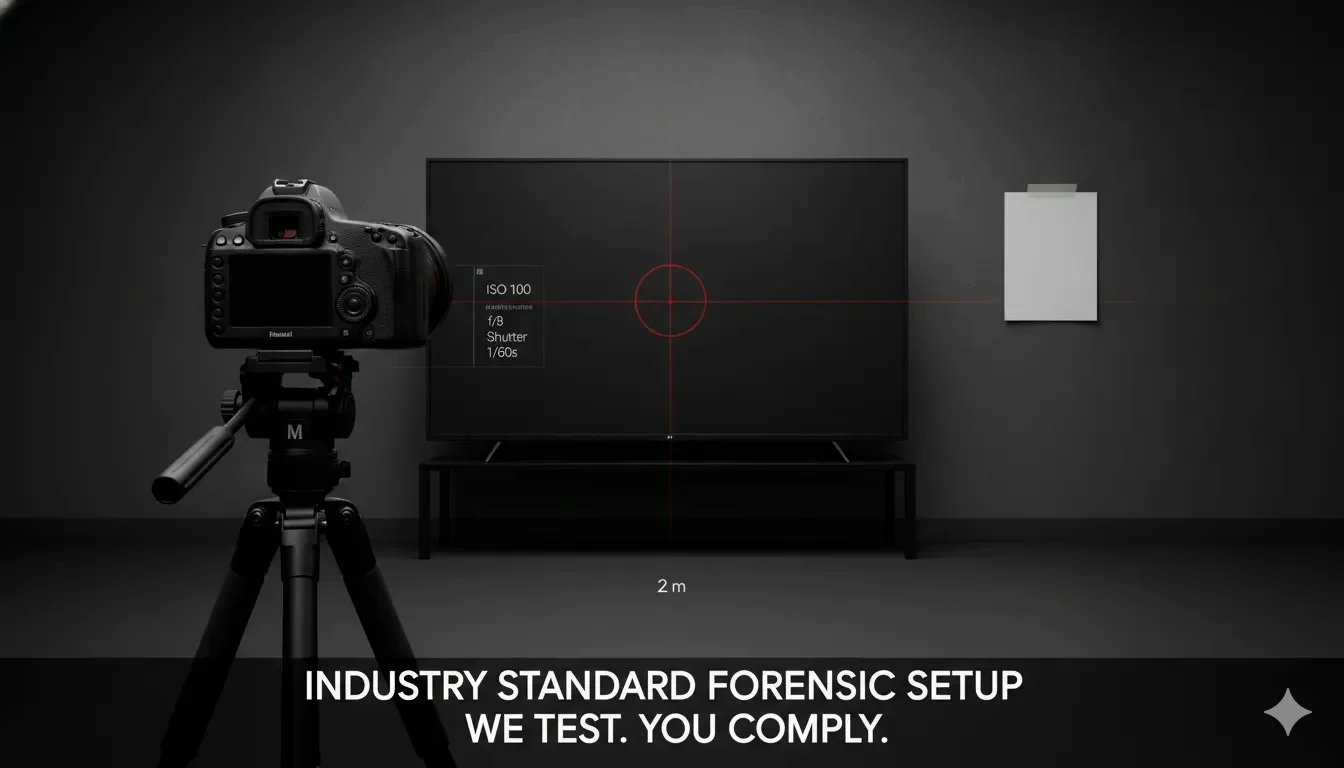
Use a dim room, but avoid total darkness if you normally use the monitor with some ambient light. Set the monitor to a realistic SDR brightness, often around the level you use every day, and turn off HDR, dynamic contrast, and local dimming while testing a normal LCD backlight.
- Warm the monitor up for 20 to 30 minutes.
- Use a black test screen, not a movie scene or desktop wallpaper.
- Sit at your normal viewing distance.
- Check the screen from straight on before moving around.
Separate Backlight Bleed from IPS Glow
Backlight bleed is usually fixed in place. It often appears near an edge or corner because of panel pressure or assembly tolerance. IPS glow changes with viewing angle and usually becomes stronger when you look from the side or sit too close to a large screen.
| What you see | Likely cause | Quick check |
|---|---|---|
| Bright patch stays in the same corner | Possible backlight bleed | Move your head; fixed patches remain fixed |
| Haze moves or fades as your angle changes | IPS glow | Step back and view from center |
| Whole screen looks grey | Low contrast or high brightness | Lower brightness and compare with normal lighting |
Take Photos Without Exaggerating the Problem
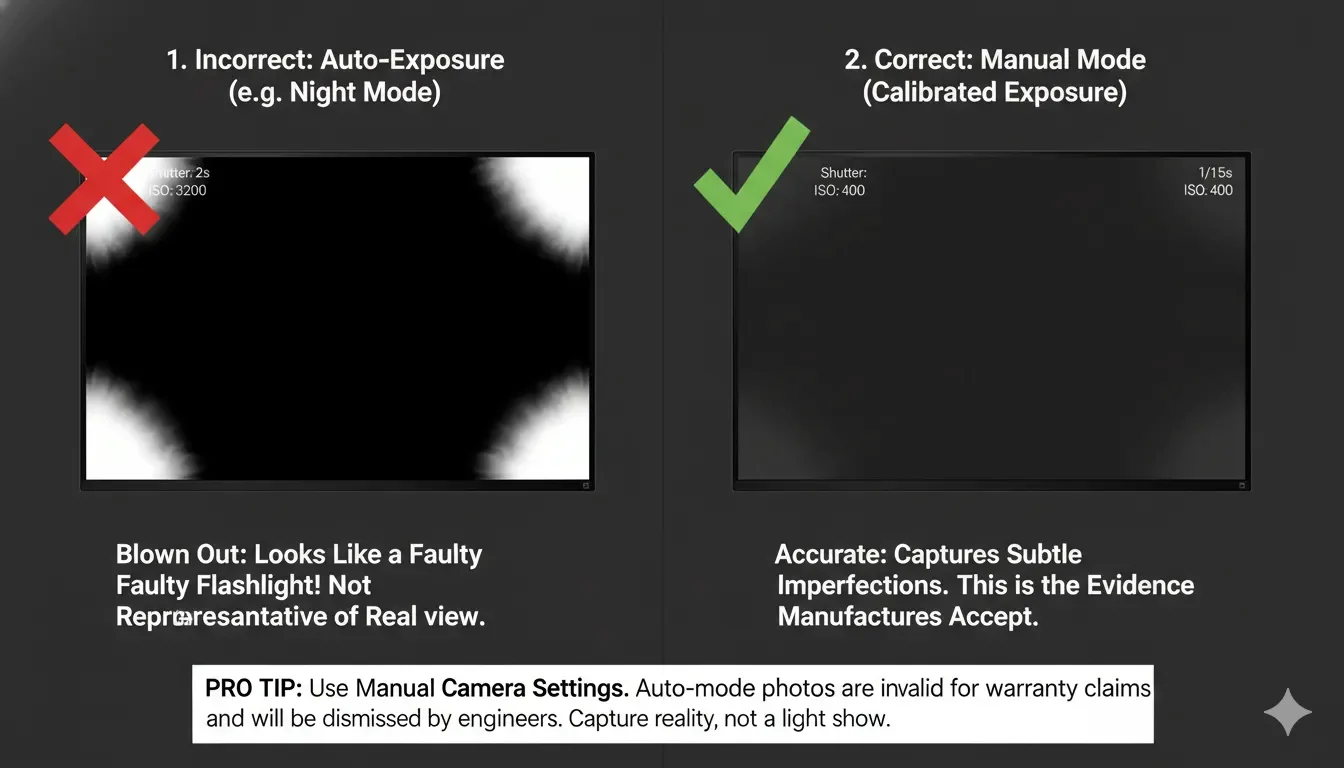
Phone night mode often increases exposure and ISO, which makes black screens look much brighter than they appear in person. If you need a photo for documentation, turn off night mode, lock exposure if your camera allows it, and include a small neutral object near the monitor so the photo has context.
The goal is not to make the panel look terrible. The goal is to capture what you can actually see from a normal position.
When It May Be Worth Returning
Minor glow or edge unevenness is common on LCD monitors, especially in dark rooms. A return is more reasonable when the bright patch is obvious in normal use, fixed in one place, visible at normal brightness, or distracting in dark scenes from your regular seat.
If the problem only appears at 100% brightness in a pitch-black room and disappears during normal work, it may not be a practical defect.
Conclusion
A good backlight bleed test uses a controlled black screen, realistic brightness, and honest viewing conditions. Test with your eyes, then document with careful photos if needed. The distinction between fixed bleed and angle-dependent glow is the part that matters most.
FAQ
Should I test backlight bleed at 100% brightness?
Only as a stress test. For a fair judgment, also test at the brightness you actually use.
Is every corner glow a defect?
No. Corner haze that changes with viewing angle is often IPS glow. Fixed bright leakage from the edge is more likely to be backlight bleed.
Why does my phone photo look worse than my monitor?
Automatic night mode and high ISO can overexpose the screen. Turn off night mode and lock exposure when possible.
Related Tests and Guides
Run a Clean Backlight Test
Use a full black screen and check the panel under controlled conditions.
Launch Backlight Bleed Test